
This is a table that I bought nearly 2 years ago for 20 dollars. It was painted white when I bought it, with a nice touch of blue paint underneath that you cannot see until you start to strip it. The turned legs were also white and not pictured here ... I apologize for the lack of a full photo:
Here is the before and after:

Old furniture like this that comes cheap and as a project ALWAYS have surprises. ALWAYS. This table's surprise was that someone had painted white paint over blue paint, and these paints were two different bases (oil vs. latex).
Here is what I did:
1. Took off the legs and the table aprons.
2. Stripped and sanded the top of the table until I couldn't do it any longer. The problem with the types of paint was that it made the blue paint turn to goo when I stripped it. I used industrial strength stripper and scraped the white paint off. After that, I used more industrial strength stripper (this one)

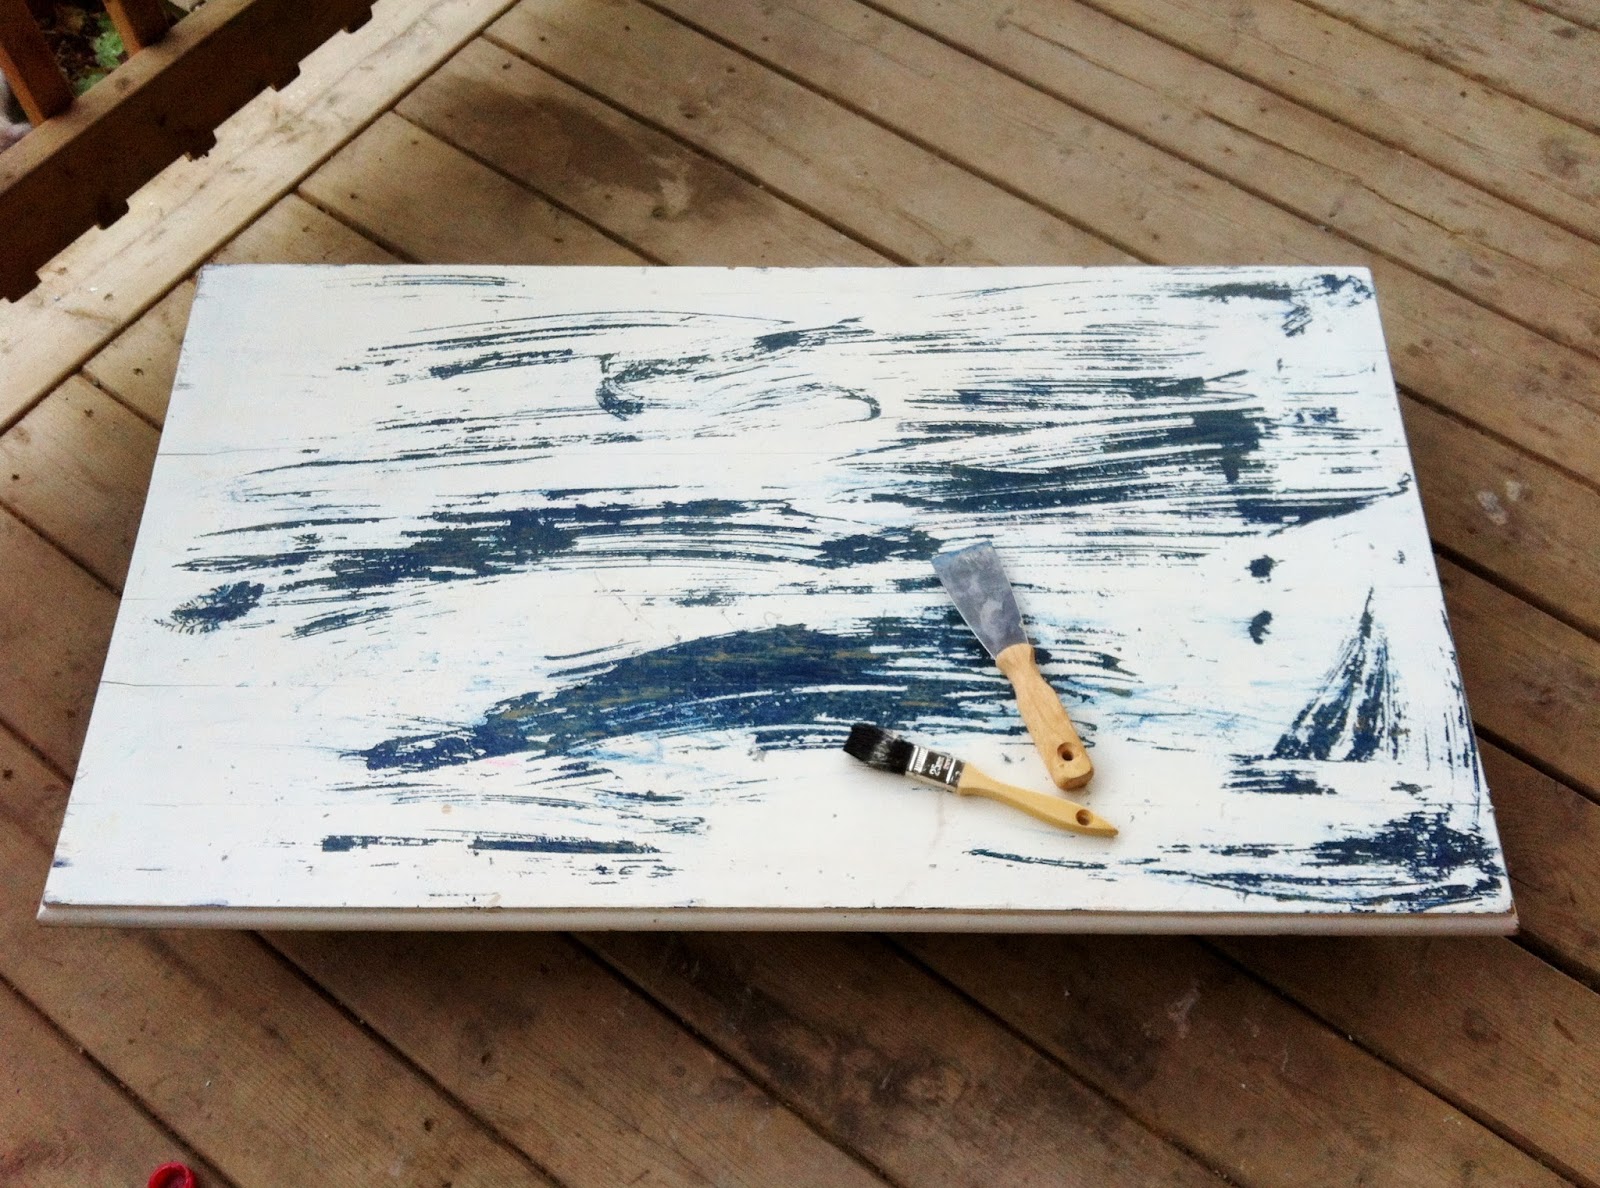

3. I sanded the sh*t out of the table top. I sanded it until I couldn't sand it anymore. Then I tried stripping it again. Then I sanded it some more. It was still blue.

4. I stained the top of the table with homemade apple cider vinegar stain and steel wool. For instructions on how to do this see this post.
5. I sanded the white paint off of the table legs and the table aprons (the legs were not afflicted with the same terrible blue paint underneath) and then painted them with Opening Night black paint from Home Hardware.
6. I soaked the hinges and screws used to hold the legs in place in vinegar to get the rust off. Then I spray painted them with Rustoleum Oil Rubbed Bronze Spray Paint.
7. I reassembled the table and coated the table top with lemon oil, then I coated it in silicone so that it could be wiped clean.
There you have it. I'm pretty pleased with the results, all things considered.


That's all for now, happy refurbishing friends!

No comments:
Post a Comment